Whether you’re a brand new home-espresso enthusiast or you’ve been in the game a while but can’t seem to achieve that perfect shot, we’re here to help. This step-by-step guide is designed to help you master the basics of your home espresso machine, so you can start pulling shots like a pro.
We’ll start by going over some of the fundamental steps in the process and get you started on the path to finding your ideal espresso shot. As we get rolling, it’s important to remember that these are guidelines -- not rules. Our goal is to help you establish a baseline and to point you in the right direction. Once you're on track, the your true espresso journey can begin, experimenting with different methods and techniques. You'll find that there are many different ways to achieve your perfect shot, and at the end of the day, what matters most is that you love what's in your cup. We're here to help make that happen.
This is going to be a lot to cover, but don't feel overwhelmed. We'll cover all the bases up front, and then we'll circle back around at the end to recap and make sure everything's accounted for
Sound good? Let’s dive in!
Setting Up Your First Shot
The first step in dialing in your perfect espresso shot is to start with a control sample. This first shot is probably not going to be the perfect shot, but it gives you a starting point that will help you figure out what adjustments to make.
Although this is just a “test shot,” there are a number of important variables to consider before you get started.
Warming up Your Machine
It’s important to always warm your machine up before pulling your first shot of the day (as well as your lunch break shot...and your after dinner shot). The reason for this is that hot water hitting cold steel during the brewing process can dramatically change the way your espresso brews. Allowing the entire machine to completely warm up before pulling a shot will ensure that this doesn't happen, keeping everything consistent along the way.
Go ahead and lock your portafilter into place as well, allowing it to warm up with the rest of the machine.
Weighing Your Coffee

Weighing your coffee is one of the key factors of achieving the perfect shot of espresso. Your dose is the amount of dry ground coffee you use when making espresso.
Dose weight will depend on the size of the filter basket you’re using, such as a single, double shot (most common) or sometimes a triple shot. The exact weight/dose for each basket will sometimes vary by manufacturer, and most will have a suggested dose for their basket. For example, Crema’s portafilter baskets, which are a single-wall, double-shot basket, are designed to fit 16g-18g of espresso. When dialing in your espresso with one of our baskets, we suggest starting with a 16g dose.
Increasing and decreasing your dose will have a major impact on the final result, so when getting started, it’s important to keep your dosing as consistent as possible. To help with this, we suggest "single dosing," which is the process of weighing your dose manually and dumping your dose into the hopper, instead of relying on the machine's built-in grind timer.
Grind Size

Grind size for espresso is the variable that you’re mostly likely to adjust when dialing in the perfect shot of espresso. Your grind size is an extremely important, and will dictate how fast or how slow your shot extracts.
Generally speaking, grind finer, and your shot will extract slower. Grind more coarse, and your shot will pull faster.
Grind size also plays a major roll in the flavors that ultimately land in your cup, as the amount of dissolvable solids that become available during the brewing process change with the size of the grind. This topic is a bit more advanced, so we'll touch on this in another blog, but this is something to keep in the back of your mind.
Getting started, choose an espresso grind size that's middle-of-the-road. If you're using an offset grinder, try something in the middle of the grinder's "espresso" range. If you’re using a Breville Barista Express (or similar Breville model), we suggest starting your grinder dial around a 5 or 6. From here, you'll adjust the grounds to be finer or more coarse depending on the results of your first espresso shot.
It's also important to note that when grinding directly into the portafilter (as intended with your factory setup), things can tend to get a bit messy. Grounds can build up, topple over, and can often be lost into your drip tray. Losing grounds will change your dose weight, which can cause inconsistencies when dialing in. To help avoid this, we'd suggest considering either a dosing cup, or a dosing funnel, which will help keep your precious grounds out of the drip tray, and inside your portafilter.
Yield
When it comes to espresso, “yield” is the final weight in liquid espresso that you extract in a shot. Getting started, the general standard is a 1:2 ratio of dose to yield. So, for example, if you’re using a 16g dose of dry coffee into the portafilter, you would aim for a yield of 32g of liquid espresso out. Additionally, when pulling your shot, you should aim to reach your yield within 25-30 seconds of starting your shot. We'll touch base on this more below.
Like dose, yield should remain consistent. For now, aim for the 1:2 yield.
Distribution and Tamping
Distributing and tamping are vitally important to the quality of your espresso. Distributing is the process of spreading your grounds evenly in your portafilter, helping you avoid channeling or spurting.

There are a few different ways to distribute, but we suggest utilizing a WDT tool (shown above) and/or a distributor like the one that’s built into our tamper & distributor combo (shown below). A WDT tool uses fine steel wires to break up clumps in your grounds (left behind by the grinder), while a distributor spreads out the grounds in the basket, working them into an even layer before tamping.
If you're using a 2-in-1 distributor/tamper tool, you'll be able to set the depth of the tool, which will provide consistent results every time. This is a big step forward in eliminating variables when dialing in.

After you've distributed the grounds, it’s time to tamp. Tamping the grounds involves applying enough pressure to compact the grounds into a “puck,” which will slow the flow of water as the shot brews, allowing for better extraction.

Tamping, like many of the other variables in crafting espresso, is all about consistency. Traditional school of thought suggests using 20-30lbs of pressure when tamping, however, less pressure can work, too. What’s most important is that you keep your pressure consistent. Your tamp should be firm and level, and it should be applied with the same amount of pressure every time.
Tamping with variable levels of pressure will cause inconsistencies in the rate of flow during your shots, making your final results unreliable for dialing in that perfect shot. This is another reason we suggest a tamper with adjustable collars, the such as the one linked above. Setting your tamping depth on the tool will allow you to achieve consistent tamping depth/pressure every time.
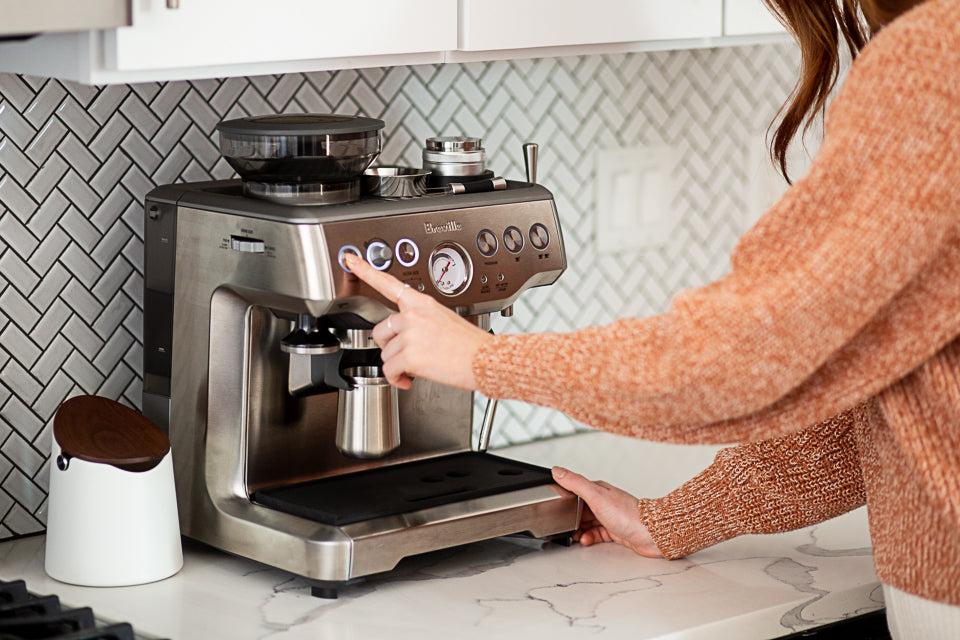
Pulling Your Shot

Awesome. Got all that?
Now that we've covered our bases on the prep process, you're just about ready to prep a shot, press that button and to watch that creamy goodness flow. But before you do, there are a few more things we should cover that you can keep an eye on while your shot's in progress.
Yield Weight and Time
The best way to know whether all the variables you’ve set so far are working is to time how long it takes to achieve your desired yield. Timing can indicate if your grounds are too fine or too coarse, which will affect the flavor of your espresso shot.
As mentioned above, getting started, we'd suggest aiming for a 1:2 ratio, and achieving this within 25-30 seconds. So if you're using 16 grams in, you'll want to achieve 32 grams of liquid espresso out, within 25-30 seconds of the first drip of espresso hitting your cup.
If you achieve your 32 grams in under 25-30 seconds, this may be an indication that your grounds are too coarse Try grinding a bit finer for your next shot. If your shot takes longer than 25-30 seconds, then your grounds are likely too fine. Try grinding a bit more coarse.
It’s also important to note, again, that a 25-30 second shot time is a general guideline to get your in the ballpark. Once you've nailed it, try playing around with different times. Increasing and decreasing the amount of time for your shot will change the amount of dissolvable solids you extract from your coffee, which will result in different flavor profiles. You can also check with your roaster to see if they have specific recommendations for the roast you’re using. Technicalities come second to flavor, so what's most important is that you're enjoying what you're drinking!
Watch It
If your machine has one, keep your eye on the pressure gauge. This is a great piece of measured feedback to let you know if you're in the correct range. If you're on a Breville machine, we suggest aiming for around 1 o'clock on the pressure gauge.
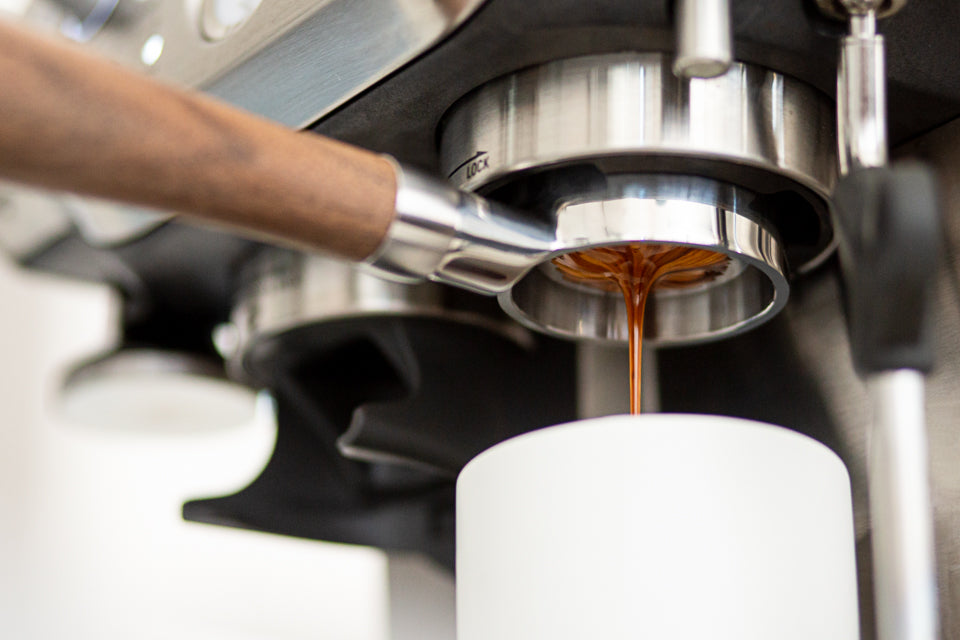
You can also tell a great deal about the state of your shot by simply observing the shot in real time. This is particularly true when using a bottomless portafilter.

When a shot is prepared properly, you should see it go through a few different stages during the extraction. Initially, your shot should start with a few slow drips, as the bottom of your filter basket begins to fill. At this stage, your shot will likely be medium brown to dark brown in color.
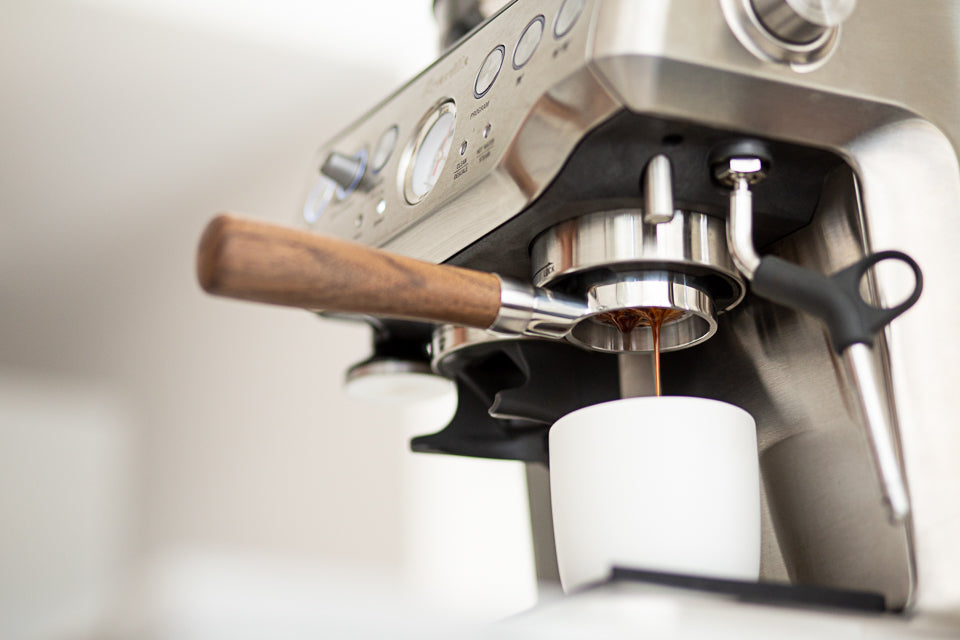
As the extraction progresses, the stream should converge to a single flow in the center of the filter basket, and should be thick and syrup-like consistency. At this stage, your shot will likely be medium brown in color, but can very with the roast level of the beans you're using.
As you near your the end of your shot (the 25-30 second range), your shot will typically begin to thin slightly, and will often change from a medium brown, to a lighter blonde color.
If you're diagnosing your shots with a bottomless portafilter, you may also experience rogue spurts of coffee that go flying from the bottom of the filter basket. This is called "channeling" or "spurting." Channeling occurs when there are inconsistencies in your puck, causing water to flow much quicker in these locations. These inconsistencies are typically caused by poor puck prep, and or stale coffee. Channeling is not only messy, but the increased flow rate through select portions of the puck will also lead to unbalanced shots and undesirable flavors. Diagnosing with a bottomless portafilter allows you to observe and correct these issues which would have otherwise been hidden from view.
Fine Tuning Your Shot
It’s important to keep in mind that the parameters outlined in this post are all meant as starting points. If you’re following these suggestions to a T and are still not quite satisfied, make sure to experiment! You might be surprised to find that even a minor change in your grind size, or running your shot a bit shorter, or a bit longer, can completely change the final flavors extracted into your cup.
Remember, too, that every coffee is completely unique, and will offer different flavors, textures and physical extractions (more or less crema, lighter or darker color, etc.) Keep this in mind when changing brands and/or roasts, as doing so will often require minor adjustment to your settings.
The same is true as coffee ages. As the beans age and begin to dry, your shots will tend to pull much differently than when the coffee was fresh. Generally speaking, with stale coffee, you’ll tend to see much less crema, and you'll often experience much more spurting and channeling. So remember…fresh is best!
Recap
Shew! That was a lot to cover. Still with us? Good! Now that we’ve broken everything down in detail, how about a quick recap?
- Warm Up Your Machine (and portafilter!)
- Weigh Your Beans – We’d recommend starting with 16 grams.
- Grind – If you’re on a Breville machine, try starting with a grind setting of around 5 or 6.
- WDT – This will help break up clumps that the grinder left behind, reducing the chance of channeling.
- Distribute – Use a distribution tool to level out your grounds before tamping.
- Tamp – Use a consistent, medium to firm, level tamp.
- Pull Your Shot – Place a scale under your glass/mug, start your shot, and start a timer as soon as the first drip hits your cup. Stop the shot and the timer, simultaneously, when the shot reaches your desired yield – in this case, 32 grams of liquid espresso.
- Evaluate Shot Time – If it took less than 25-30 seconds, grind slightly finer to slow down your shot. If it took longer than 25-30 seconds, grind slightly more coarse.
- Evaluate Shot Taste -- Make sure to sample each shot, even if the shot timing wasn't quite on the mark. This will help develop your pallet and will give you a better understanding of what types of flavors are changing as you fine tune closer and closer to your perfect espresso. Also, we would suggest giving your shot a quick stir before sampling. This helps blend the different layers that develop as the shot is extracted.
As you continue to make espresso and dial in your shots over time, your palate will develop, and adjusting by taste will become more intuitive. In the meantime, remember to keep experimenting and see what the world of coffee has to offer!
If you have any follow-up questions on anything covered in this blog, feel free to reach out, we’d love to chat!
Also, if you found this helpful, let us know! We'd love to hear what other types of topics you'd like us to cover next, and if you haven't done so already, make sure to sign up for our email newsletter to be notified of future blogs!
Cheers!